
How to integrate iScala and supplier’s ERP
Статья по-русски: «Отправить Заказ на Закупку поставщику в электронном виде»
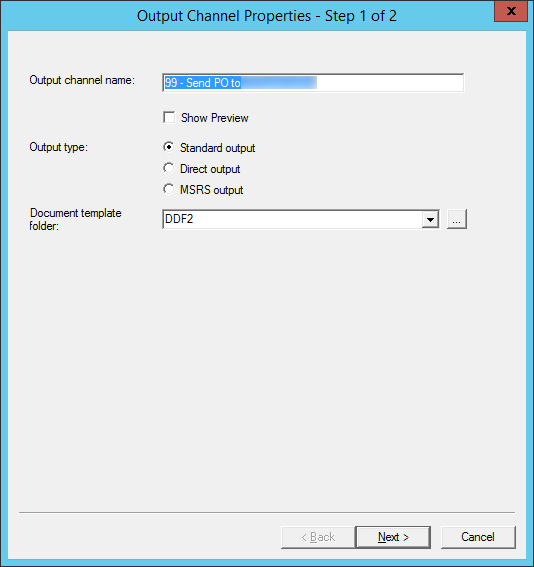
1. Output channel “99 — Send PO to Supplier” has been created:
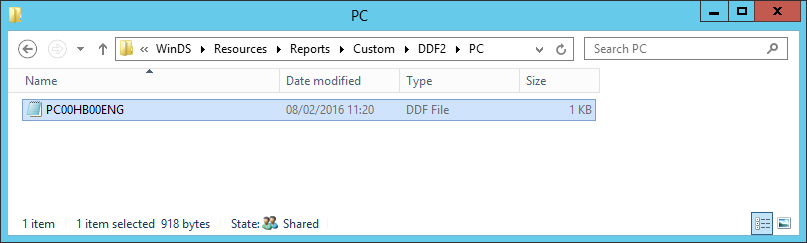
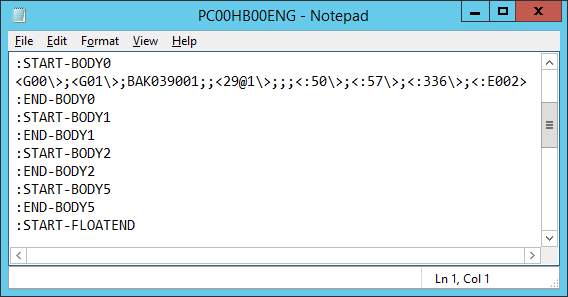
2. DDF template PC00HB00ENG has been created in Custom->DDF2->PC folder:
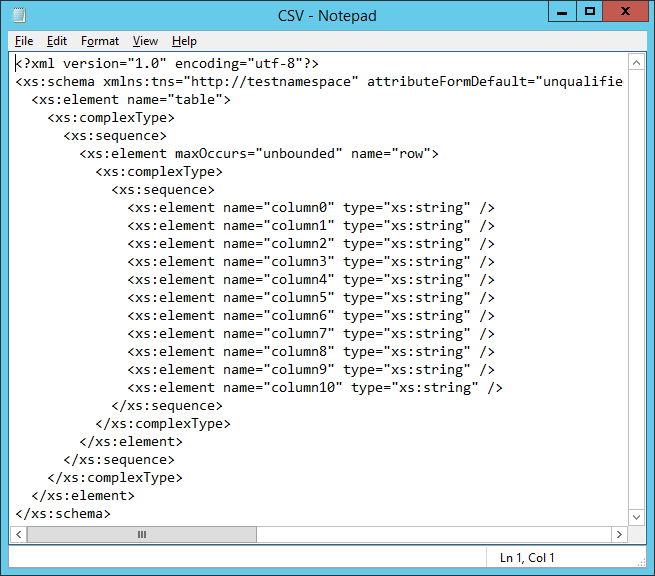
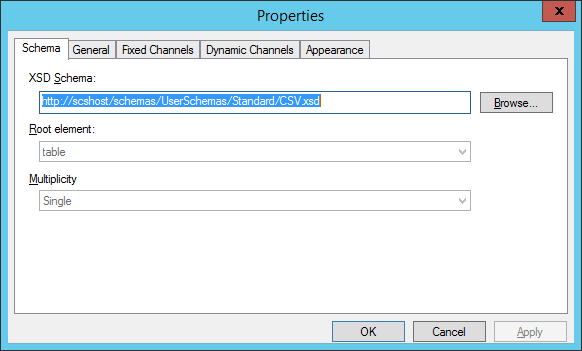
3. New User Schema has been created:
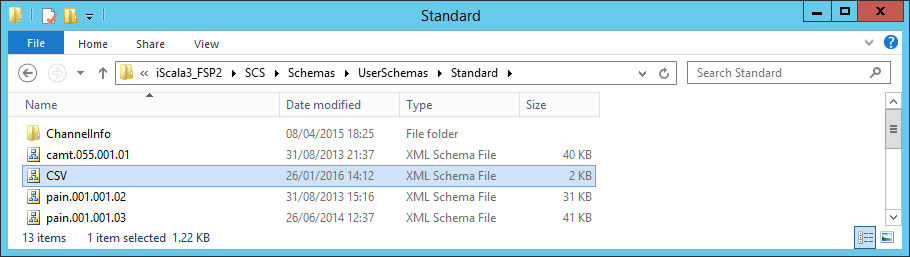
Schema Content:
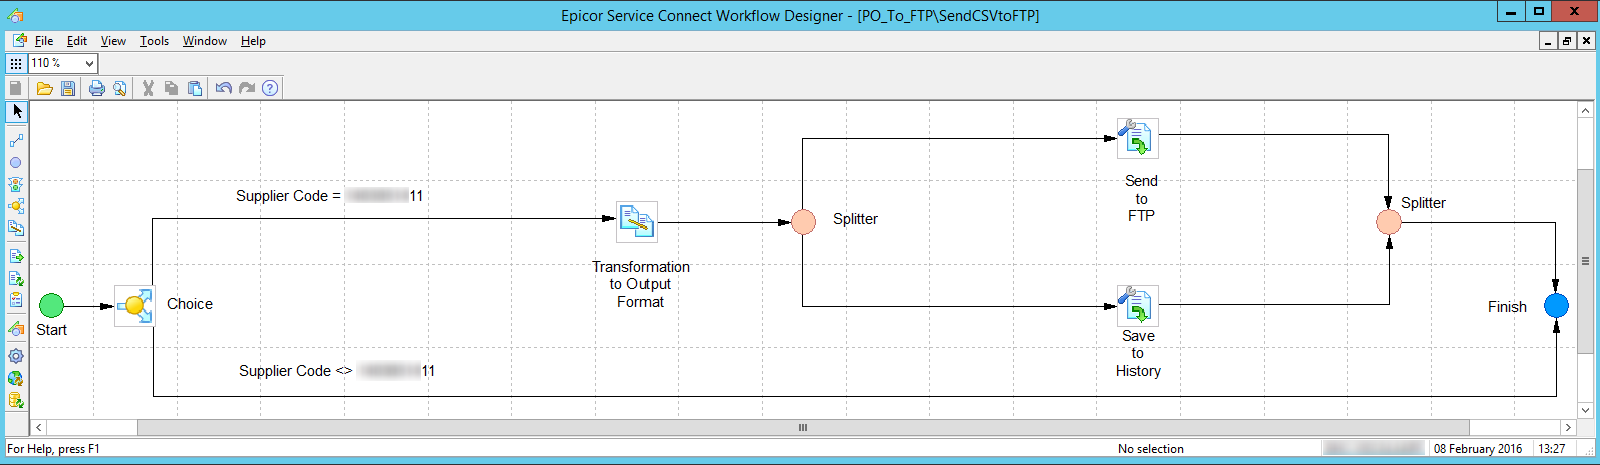
4. Work Flow Package “PO_To_FTP” has been created:

5. “SendCSVtoFTP” Work Flow content:
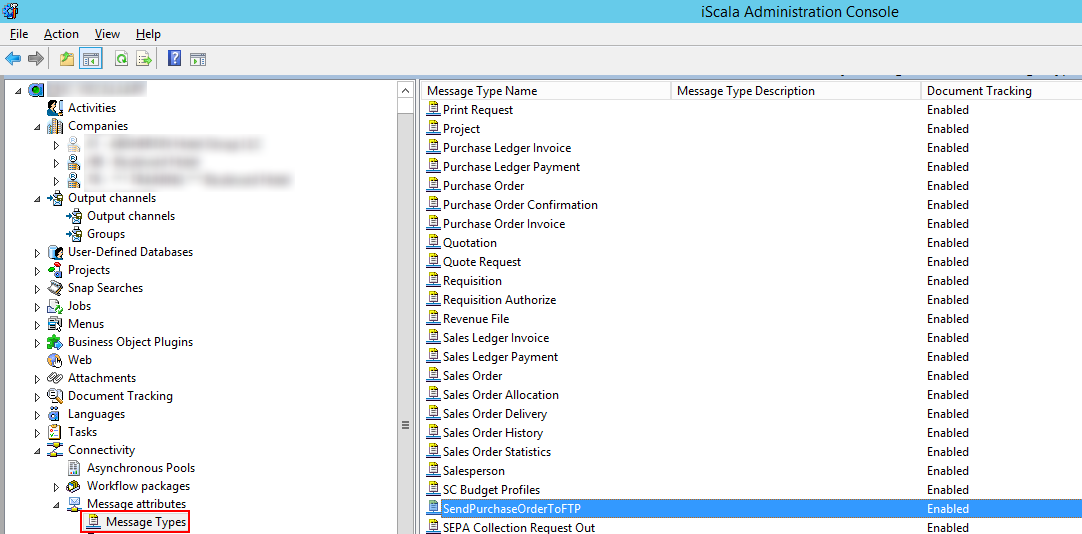
6. New message type has been added:

7. New Message Map has been added: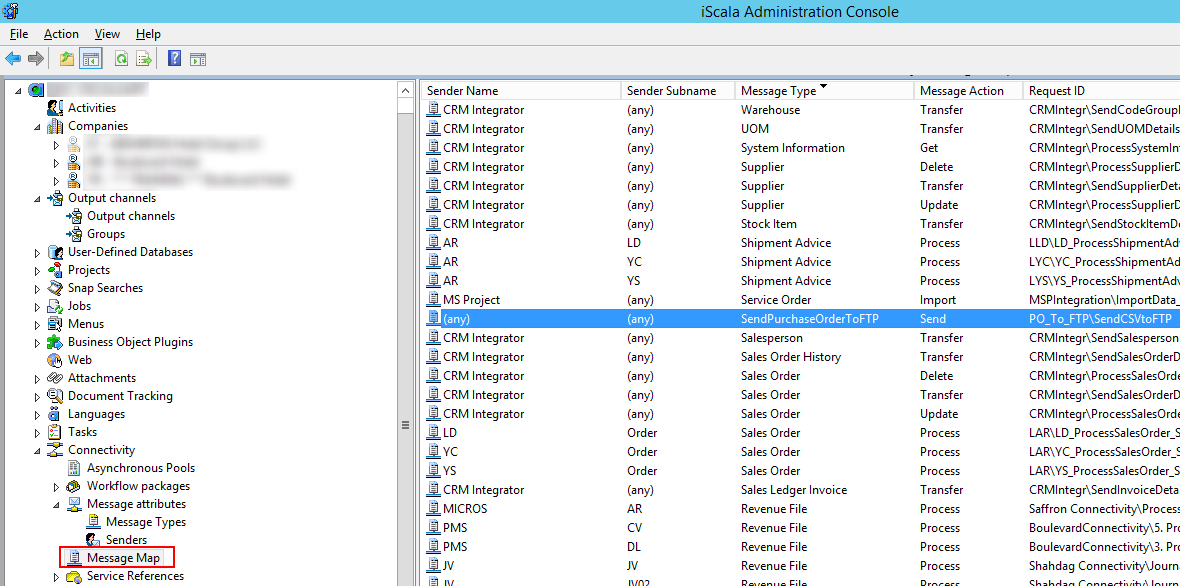

8. New Service Connect Input Channel has been added:
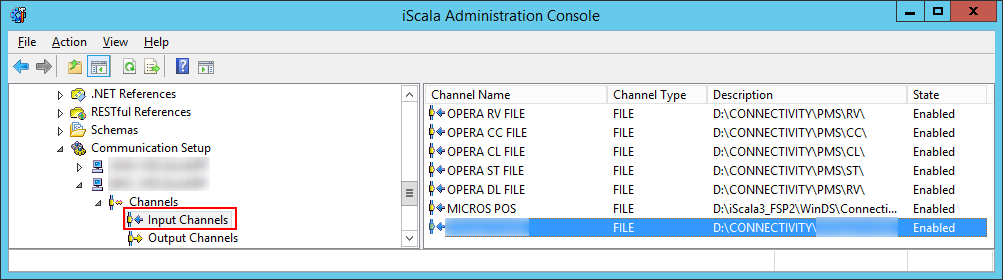
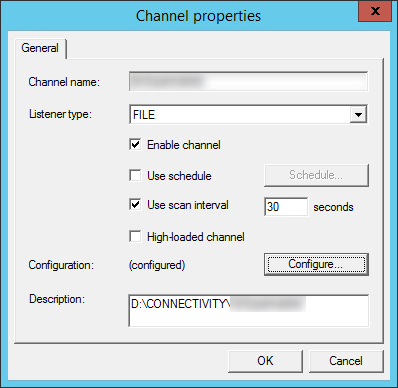
9. Input channel settings:
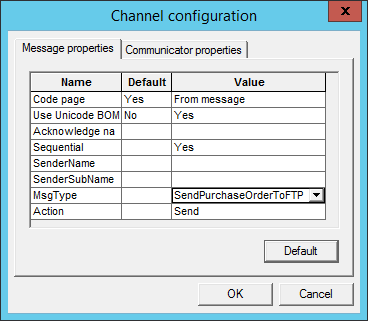
 10. Configuration:
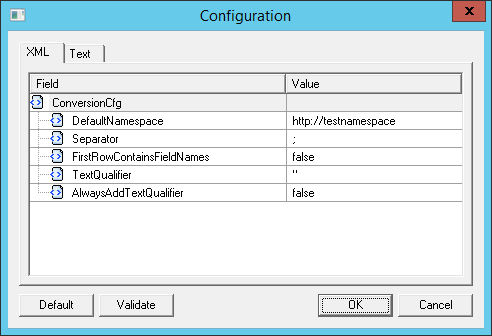
 Conversion Configuration:
11. ToSupplierSaveToHistory Service Connect Output channel has been added:
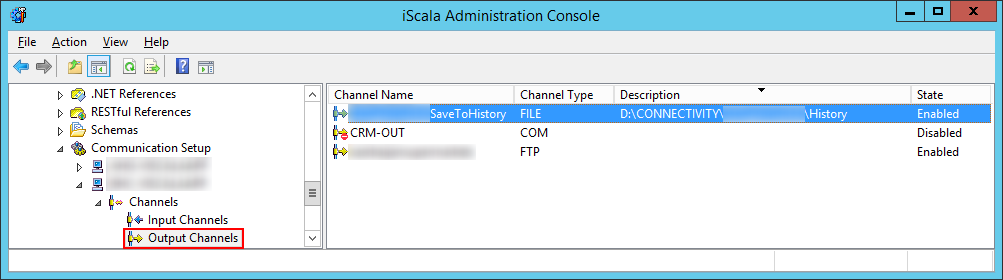
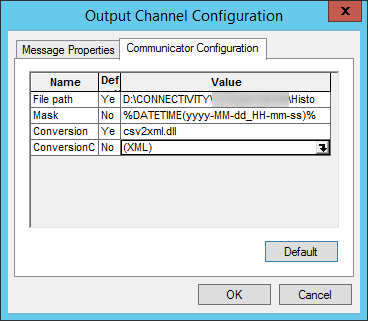
12. ToSupplierSaveToHistory Service Connect Output channel settings:
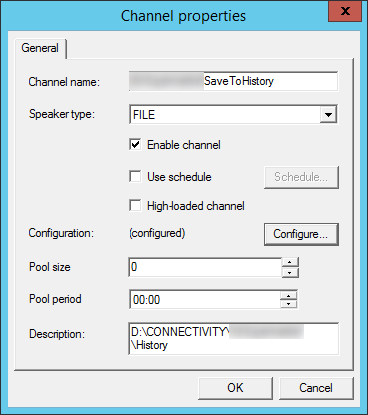
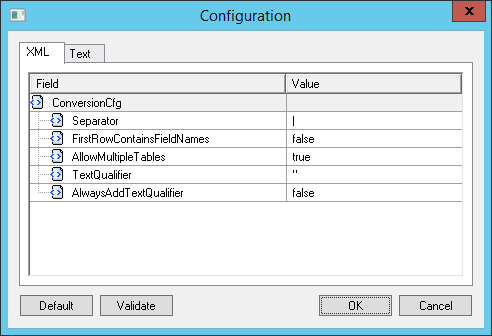
Configuration:
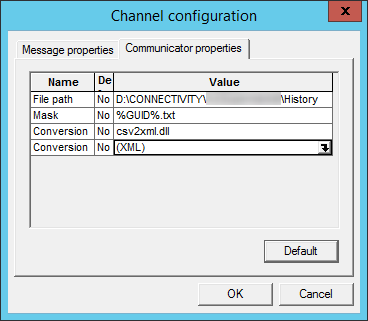
Conversion Config:

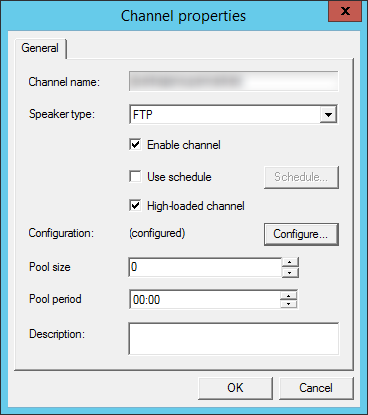
13. “SendFileToFTP” Service Connect FTP output channel has been created:
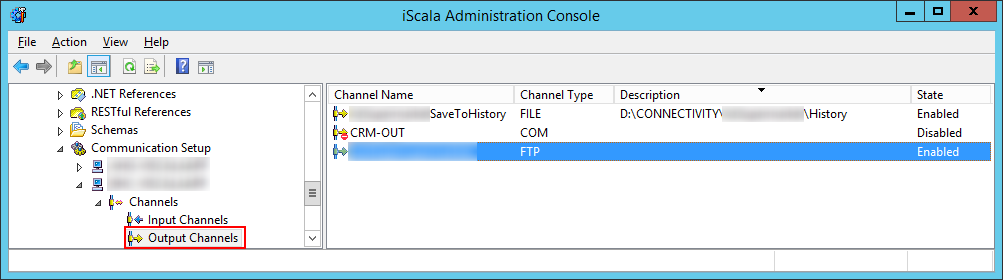
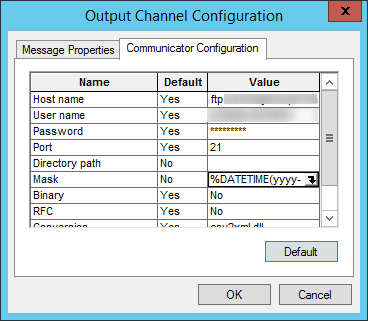
14. FTP output channel settings:
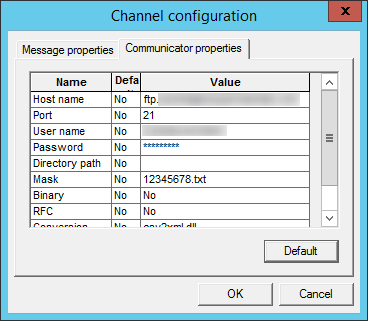
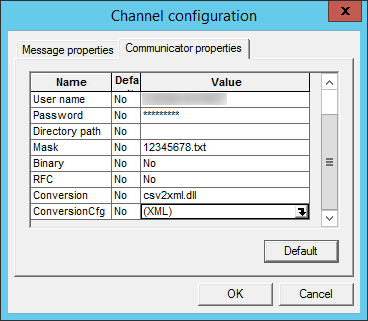
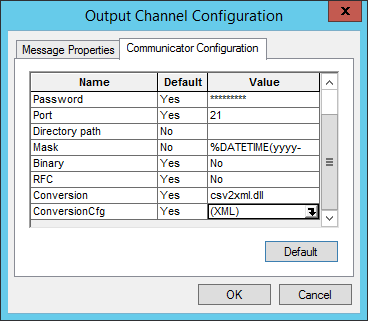
Configuration:
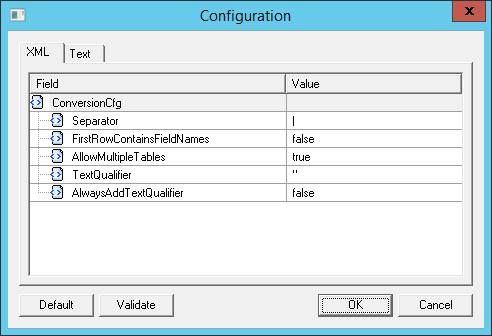
Conversion Config:
15. Work Flow Details:
Choice:
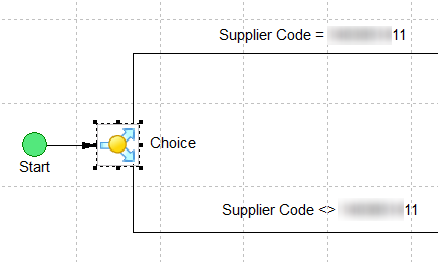
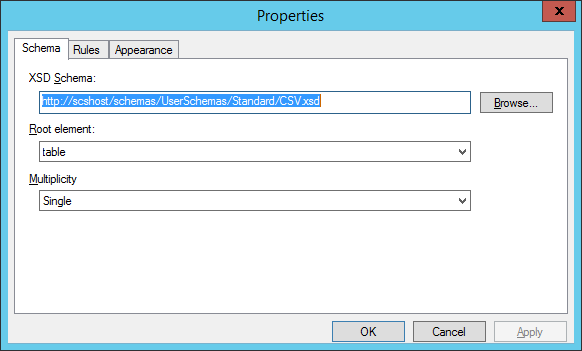
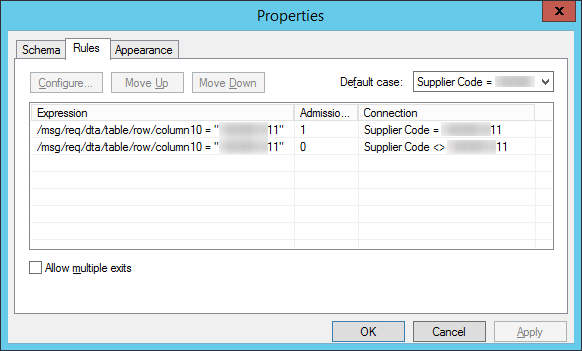
Work Flow “Choice” element configuration:
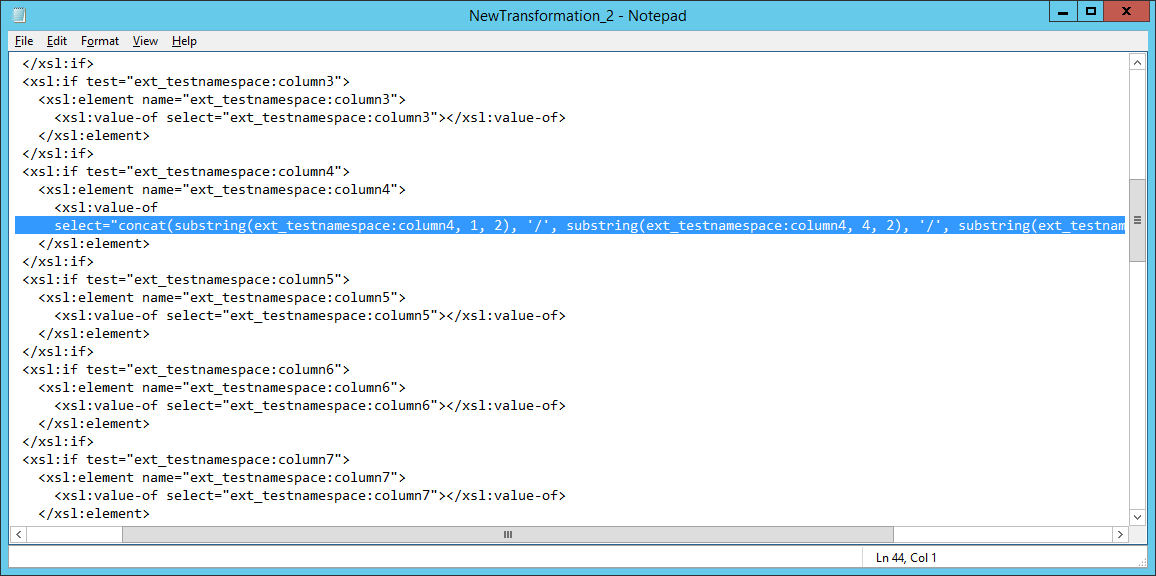
Transformation to Output Format Element
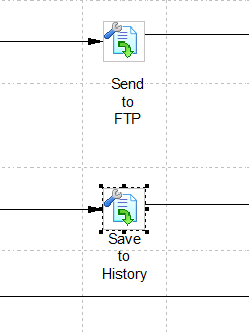
“SaveToHistory” Work Flow Element (Poster):
Configuration:
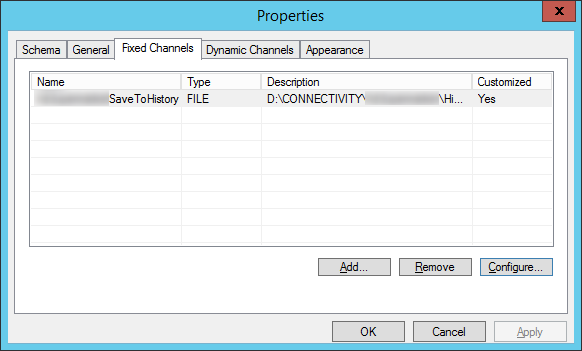
Fixed Channel configuration:
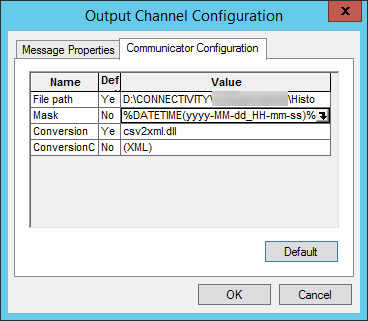
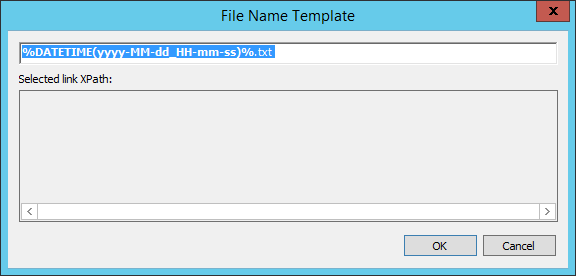
Mask:

Conversion:
Conversion Config:
“SendToFTP” Work Flow Element (Poster):
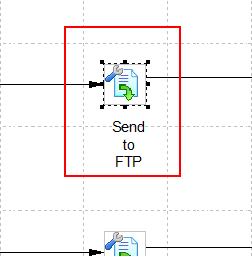
“SendToFTP” Work Flow Element settings:

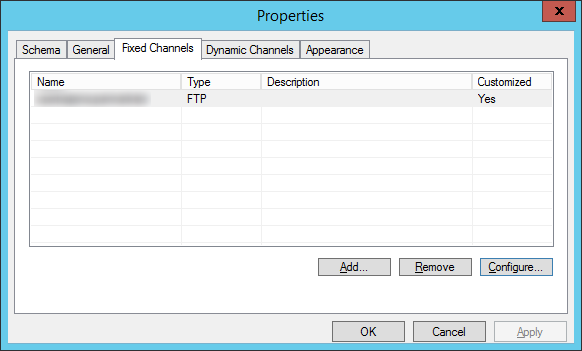
Fixed Channel Configuration:
Mask:
Conversion:
Conversion Configuration:

16. User’s steps in iScala:
1) User Enters Purchase Order for Supplier with Supplier Code “********11”
2) User enters selection criteria to print selected Purchase Order:

3) When iScala asks to select output channel, user selects special output channel:

4) iScala creates file in the folder associated with output channel
5) Service Connect starts working
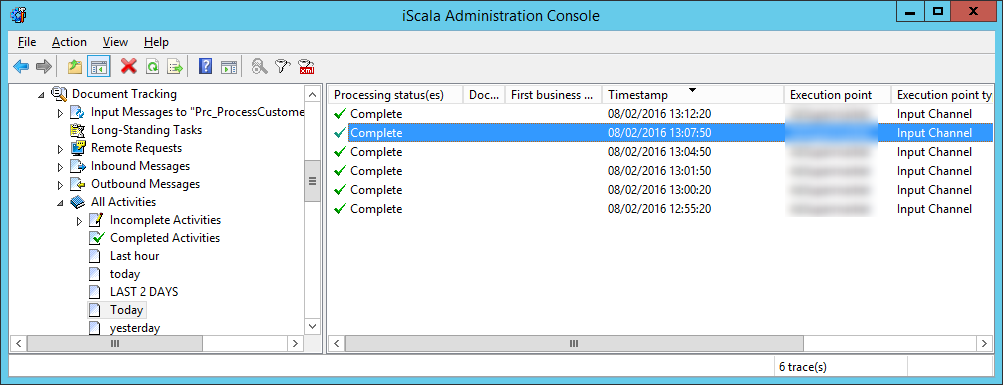
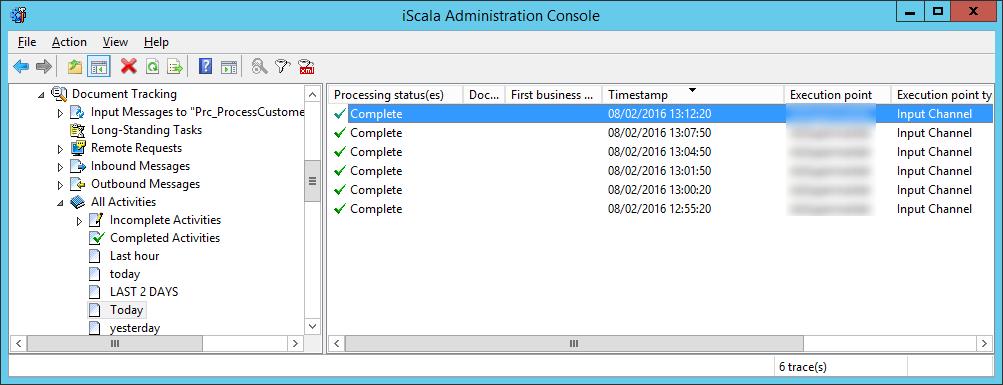
17. Administrators can check results using Document Tracking in iScala Administration Console:
18. Process Details:
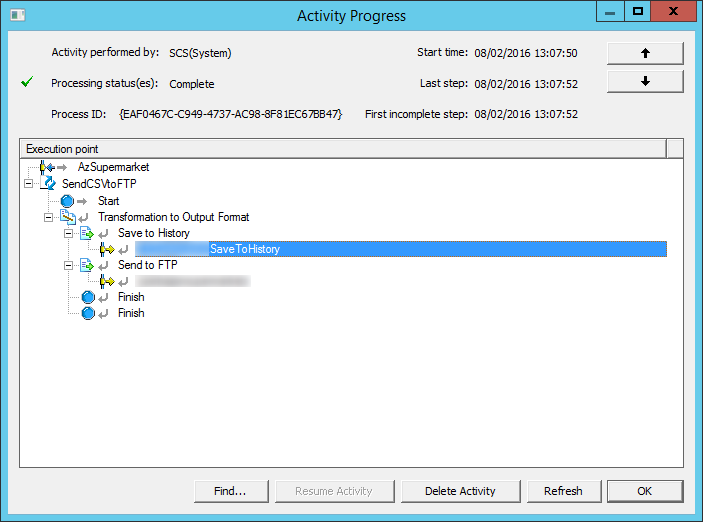
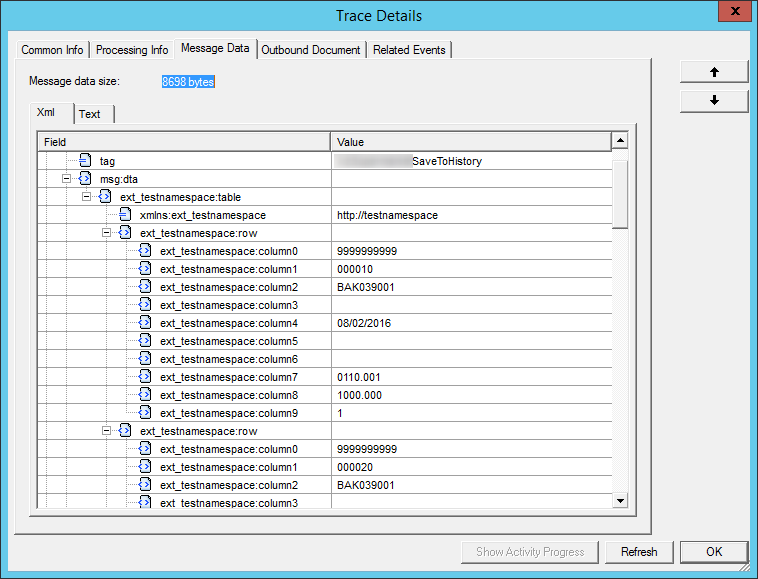
19. Step Details:
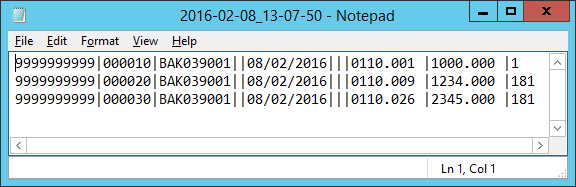
20. Result in “History” folder:

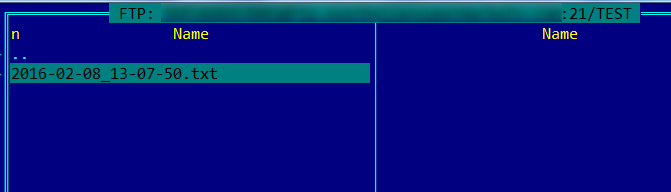
 21. Result in FTP folder:
22. Another process (User prints Purchase Order with different supplier code):
23. Process Details:

No file created yet.


